Sonntag, 9. März 2014

Pets for my Sylvanians - a tutorial

Hello everybody,

first I'll want to show you that beautiful giveaway, which you can win, from the amazing Sugarbush Valley:


It's a wonderful blog about the residents of Sugarbush Valley, a dreamy place in far away Sylvania. Please take the time to look at it :).
........................................

While it's raining the whole day and because I really couldn't learn all the time for University, I've looked around in my handicraft cupboard and found some cardboard. 
Suddently I got the idea about an aquarium- eventually the Sylvanians also want to have pets.

If you also want to create a little, shabby chic looking aquarium, I'll show you here how I went on:

You need:

- cardboard
- acrylic paint
- polymer clay (choose the colours you want)
- some markers
- glue (superglue or "normal" glue for handicrafts) 
- transparency film 


Step 1:

Draw the single wall-parts onto your cardboard and cut them out. You'll need the following parts:

Measurements: 0,5x3cm

Measurements: 5x3cm


Important: I first had forgotten one wall, so it's missing in the foto. Please draw another 5x3cm wall.

Step 2:

Colour the peaces with the acrylic (from both sides).

Step 3:

Create your background-design for the Aquarium. I've drawn some infantile looking waterplants:


Stick the picture to one of your walls and to your bottom plate, like this:

Don't worry about the frazzle edges - they always appear by two-layer carboard. But we will make them disappear later ;-).

Step 4:

Stick the two small wallparts onto the bottom plate:


Now it should look like that.

Step 5: The inner life of the aquarium

Because the children want to have little fishes, let's take the polymer clay and start:


For one fish, you need two small balls of polymer clay, like these:

Press one of them with your finger.

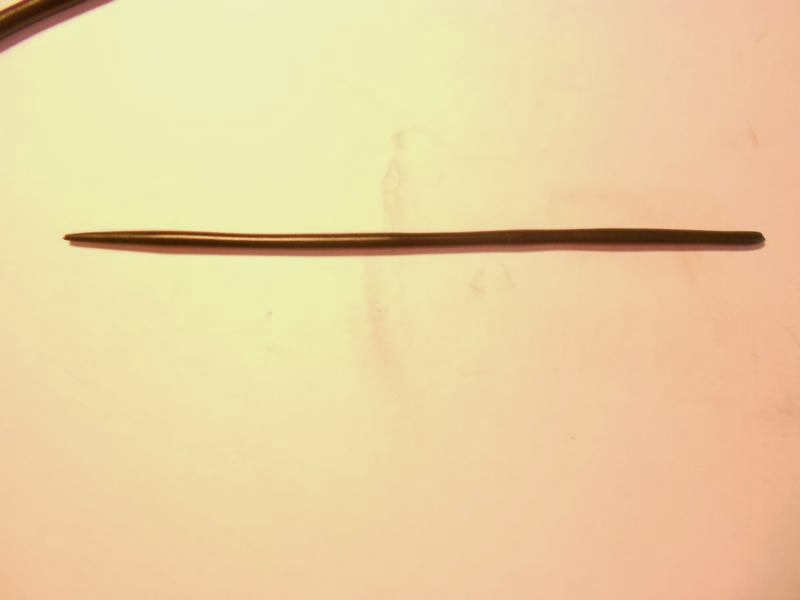
The flat part will be the fishtail. Take another peace of clay and form a small pole. Stick it from both sites onto the tail:


Put two more on the tail and cut a small triangle out of the clay:


Now we'll form the body:

To get the body a bit more coloured, add a small part of another colour and role the clay, so the two colours can combine.


Combine the body with the tail:


Becaue the fish wants to swim, he needs some flappers. Make a small circle and cut them in the half:


Fold them together, like this:


And stick it to your fish:


Now just the eyes are missing. Make little holes with a needle in the fish's face and put little black balls into the originated holes.

Isn't it sweet? :D

Create as much fishes, as you want. I've done two.

Beside of inhabitans, your aquarium needs plants and/or decoration.
I've made this little rock with a hole in it and this easy waterplant. Just form everything you want.


Now your creations must bake in the oven.

Step 6:

After the interior has cold down, you can stick it to the bottom plate - I had also added some sand on the ground:


Step 7:

Take some transparency film, cut it into the right size and glue them on the walls. Sadly I've forgotten to take a picture, but it's not difficult.

Because I wanted that one of the fish can swim, I've sticked the fish with a transparent yarn onto the top of the aquarium:


Talking about the top... As you see I'd stick another plate and a little halfround knob onto it - so  it looks a bit more realistic.


Add the top to your aquarium - now it should look like this:


Not very beautiful, but it's easy to make it look nice.

Step 8:

Take a piece of thin card in the convenient colour of your aquarium.
Draw straight lines onto the card:


Cut them into the fitting size and attach them to your aquarium, like this:


Repeat this act for all sites, including the top....

We're finishend now! :)

This is my result- I've added a small floor cupboard. But the aquarium can also be placed on a table or another cupboard.


As you see, I've also drawn little nails onto the card. I like the idea of woodplates - especially because we're in Sylvania :).


I hope you had fun with this tutorial - I'm really curious about your comments.

Donnerstag, 20. Februar 2014

Some sweet things

Hello everyone :-),

as announced, I’ll show you some of the printable miniatures, which I reworked from this site: http://www.rainyblues.com/mini/howto/download.html

I’d used photobase paper (the website says that this would be the recommended paper) and painted it in format L (also after “listening” to the advices of the website:-D). 


After cutting them out, I had to assert that all my clues, which I had at home, were too weak. All boxes just “jumped” apart, even if I pressed them 10 minutes between my fingers :–(.

So I had to order some stronger superclue (WARNING: Please take care of your fingers! The superclue really is a super fast clue :-D) – after all it worked and these are my first results:


Because I love sewing, this set must have been done:


Some sweets in a display:

I love those funny writings on the products :-D.

Some other food:


And those two household goods:

The "pure clean" was my first project- as you see the clue was faster than me :-/. That's why it doesn't look so good. 

I'm sure I will rework some more cute things (which of course I'm going to show you). 

But this time I'll use other paper- it was kind of hard to fold the photobase paper. Also I'm sure that the miniatures would look also nice, if I would use normal paper.

Before I forget, here’s another little project, I did in the last days. A new gardening outfit for my chocolate rabbit father:


After he got his new outfit, Hans started to work immediatly.


If you’re interested in reworking:
--> I think the trousers are a little bit to small; I couldn’t close them on the back, so I think I have to create my own pattern But I’m sure this pattern would fit a sylvanian child.


Oh and I have a question for you… 
I’m searching for small simple silk or satin ribbons in different colors (without ornaments), which I can buy in a set.
I’ve searched all over the internet and in different stores, but I really couldn’t find it. I’ve just found ribbons with dots or stripes in one color and not in sets:-/.
Does anybody know where I could get them?


I hope you liked the post- see you soon :-).


Freitag, 14. Februar 2014

Totally cute miniatures

Hey everyone,

I've just found this amazing japanese site about printable miniatures!
You have to visit this site; the things look so cute:

http://www.rainyblues.com/mini/howto/download.html

I'm going to try a few things in the next days. So there will be a  new post, as soon as I have some good results ;-) :-D.

Sonntag, 2. Februar 2014

Tutorial: The creation of a complete room for your Sylvanians

Today I want to show you, how you can build rooms or complete flats for your Sylvanians.


They’re quite easy to make, but you need a bit time and patience (especially for the bottom plates :-D).

You need the following materials:

-         -  4 identical plates of ply wood (you get them normally in every handicraft shop or building centre – they sell     them normally in sets)

è measurements: I've used DIN A4 format; but of course you can choose a smaller or bigger size
 -   nails and glue

-        -   FIMO or another sort of polymer clay (for the curtain rail, the bottom plates and the window and door      frames)

-          - acrylic colors

-          - “normal” white paper, printed paper or wallpaper(s)

-          - some fabrics for the curtains and/or rugs

-          - little metal rings (like you'll see in the pictures below)

And those appliances:

- a coping saw
- a scissor
- needles
- a set square
- pencil(s)
- brush(s)
- a pasta machine or a rolling pin

Step 1: The building of the walls – the matrix

Now, let's start!

A: The Walls

Take your 4 plates and choose your bottom plate. This plate hasn't to be cut, so you can put it by the side or (this is your decision) – create the floor design.


This is one of the plates, I've used.


The other 3 plates must be cut into the right size. I've looked at my hamburger restaurant and decided to take the same height for the walls. O course you can choose another one, but here I want to show you my measurements:

- the wall in the back: length: 34 cm height: 17 cm
- the two sidewalls: length: 21, 3 cm height: 17 cm

So cut the walls into the right sizes with a coping saw. I'm sorry that I have no pictures for this step, but I think it's not difficult (please ask, if you have questions! :-)). 

B: Windows and doors

Now you have to think about your window(s) and/or door(s) and where you want to have them.
Because I'm building a kitchen for my rabbit family, I wanted to have 2 windows and a door.

Draw the position and the size of the window(s) and the door(s) onto the plates and cut them out (by using a coping saw, you first have to drill holes into the plate).
Well, please check the height of the windows first, before you cut them out! Take a figure an check, if he/she can looks out. It would be sad, if not ;-).

If you use the same measurements like me, you can use of course my datas:


C: Put the parts together

As the title says, you have to put your parts together now. Therefor put some glue on the raw edges and fix the plates with small nails.

Let it dry :-).


Step 2: The floor

Well, I’ve made the floor design quite simple. Just look at the following pictures J. Of course you can choose another design, like I did in my bathroom. Color the bottom in the way you like it.

Draw identical lines with a pencil. The gap I've used is about 1,5 cm.
Divide the stripes into parquet-looking sections.

And finished :-). I like it quite simple, but if you want you can color the bottom :-).
Step 3: Designing the walls

A: The outer walls

I've colored my outer walls with acrylic in dark red – so it fits to the rest of my house :-).


 B: The inner walls – wallpapering

Before you can put the wallpaper onto the walls, you have to make a pattern.

Take a paper and push it to a wall. Like this:


By doing this, the edges of the wall and the shapes of the windows/or doors will be extruded into the paper. Now you have the shape of the wall and it can be cut out.


Choose the wallpaper you want to use. This can be “real” wallpaper, scrapbook paper or “normal” printed paper, like I did.


Transfer the pattern to your wallpaper. Check, if the wallpaper fits to the wall, before you stick it.
Put some clue onto the walls – but be careful, it has to be a thin film. Otherwise the wallpaper will crinkle.

One wall is finished.


And the rest of the room.


Step 4: Making the bottom plates and the window and door frames

A: The bottom plates

First I have to say: I’m very sorry, that I have no pictures of this process. It’s because I had already made the plates, before I was asked to do this tutorial. So, please forgive me.

So, now you take your polymer clay (I’ve used FIMO soft in a dark brown color). To get a really thin plate, you normally need a pasta machine. But it will also works with a rolling pin.
Establish your “polymer plate”.

Now you have to measure the lengths of your walls and decide the height of your bottom plates. Then create a pattern, which should look like this:

The lenght of the small one: 15 cm
The length of the big one: 21,5 cm
The height: 0,5 cm


I’ve parted the plates for the back wall, but you can also make a long plate. For the side walls you have two identical plates.

Lay the patterns onto your “polymer plate”. Cut around the patterns with a sharp knife and put the finished plates onto a baking sheet. Bake it according to the instruction.

After drying you’ve got 3 or 4 parts (on the picture you'll see the window and door frames too).


If you have a door in one of those walls, you have to conform your plates. This is kind of easy, because you can cut the polymer clay after drying with a scissor.

The last part is easy, just glue your plates at the walls.

B: The window and door frames

Well, this part has the same steps like in part A J.

Here are my measurements: 

 The lenght of the small one: 12 cm
The length of the big ones: 7 cm
The height: 0,5 cm

The length of the small ones: 4,5 cm
The length of the big ones: 7 cm
The height: 0,5 cm

And the finished result:


If there are little wallpaper rests, like you see at the right window, just cut them off :-).


Step 5: The decoration

A: The curtain rails

Take some polymer clay. I've used this one:


Form a small pole.


Take the ends and form little domes. I've put it onto the baking paper, so the rail can't be deformed.


In the next step, you'll form the hangers for your curtain rails.

Again, form a small pole. Then turn the end half round, like a sickle.


Cut it smaller.

Now your creations have to bake for a while :-).

After drying, the curtain rails are finished. Go on with the hangers. They need a round part at the end to stabilize, or rather, that you can stick them to your walls.

Form little balls with your polymer clay, than push the hangers into the mass.


Many hangers :-D

And again the hangers have to walk into your oven :-).

After drying, you can stick them over your windows.


B: The curtains

We're almost ready to put the furniture into the room. Just a few more steps :-).

For the curtains choose your favourite fabric and cut it into the right size. I've choose 8x4 cm.


Turn the ends and fix it with a few stiches. I've used transparent fibre (you'll see it a few pictures below).


Now take a spiky article and put some holes into the fabric. Take your metal rings, bend them up and push them through the holes.


Now you can put the curtain onto the curtain rail.


C: The rug

Just cut another fabric into the size you want and perform the same steps like before (of course without the metal rings :-)).


We're finished now! It's time to put in the furniture!

This is my new kitchen:


I'm looking forward to your comments. Have fun with this tutorial.  :-)